 History of Bulgaria
Vassia Atanassova - Spiritia · CC BY-SA 3.0 · Wikimedia Commons
Full attribution
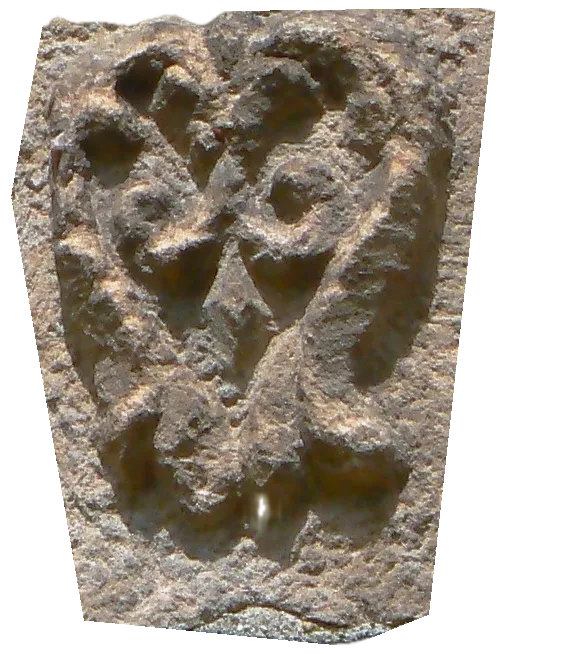
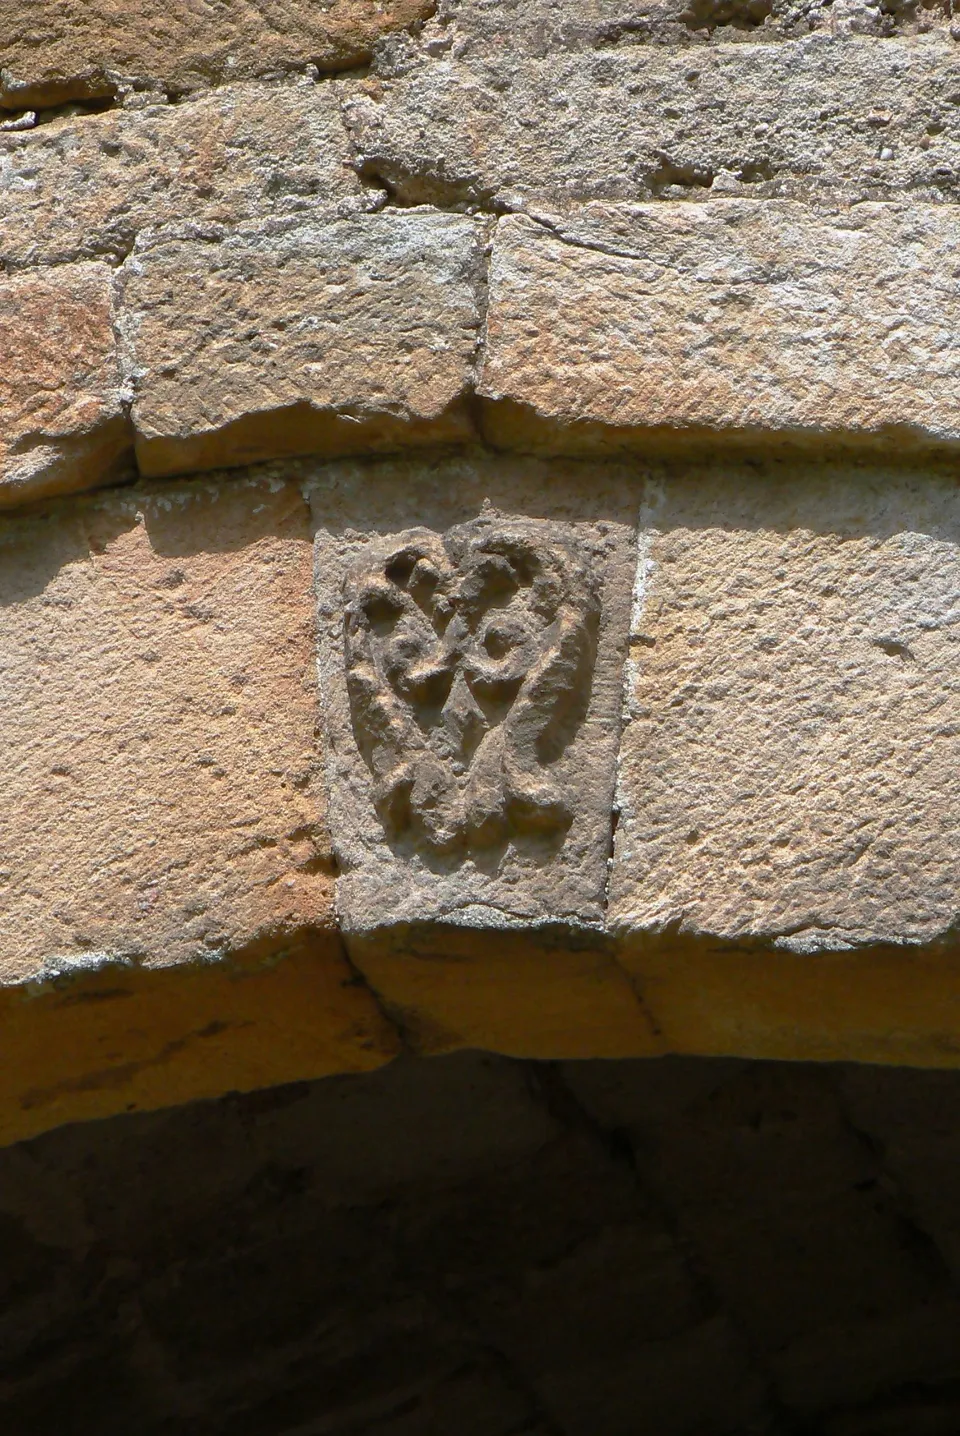
Image: Vassia Atanassova - Spiritia, Wikimedia Commons, CC BY-SA 3.0. Carved keystone: the stone in the middle that closes the arch. Modern photograph; the stone’s date and the meaning of its decoration are not established. Cut-out detail; background removed.
A Roman fort, Sratsimir’s walls and Ottoman gateways. In 1850, peasants surround Belogradchik.
Part 1 · Revival
Walls between the rocks
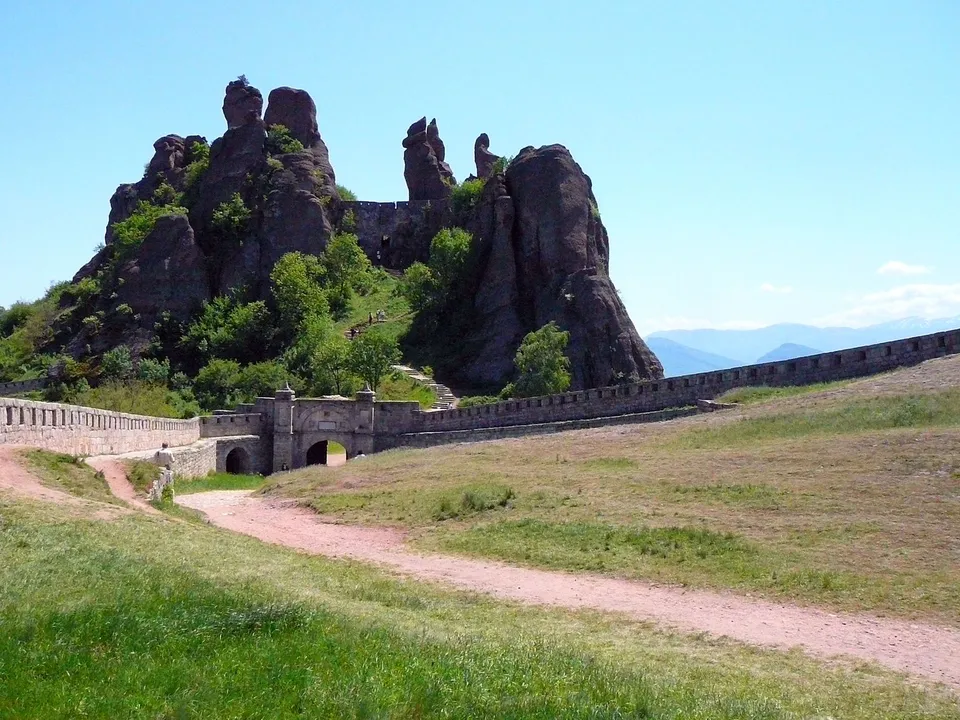
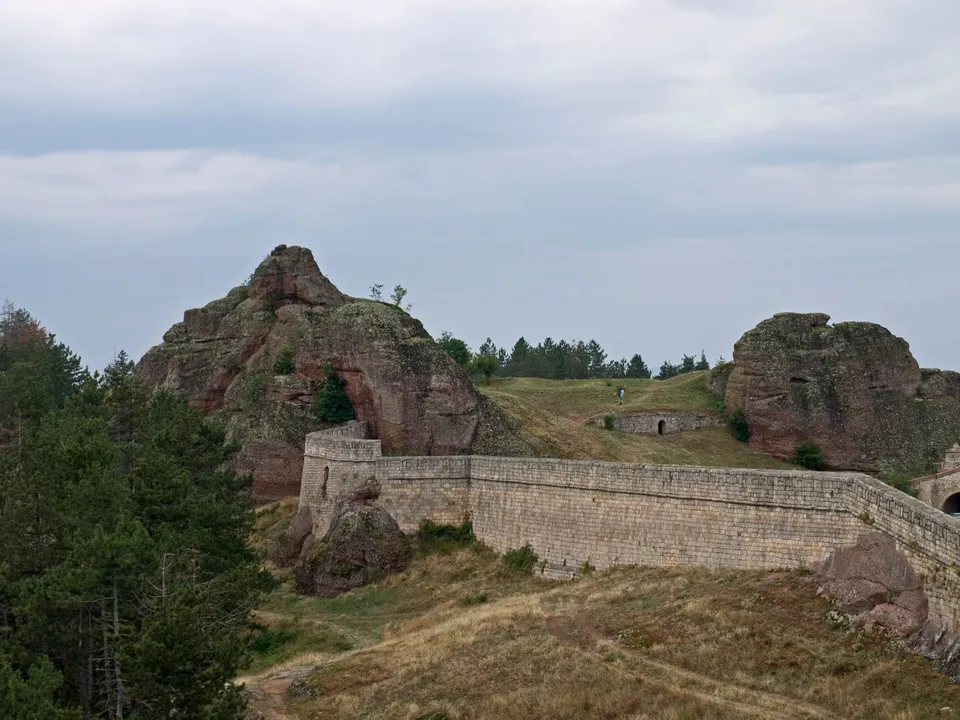
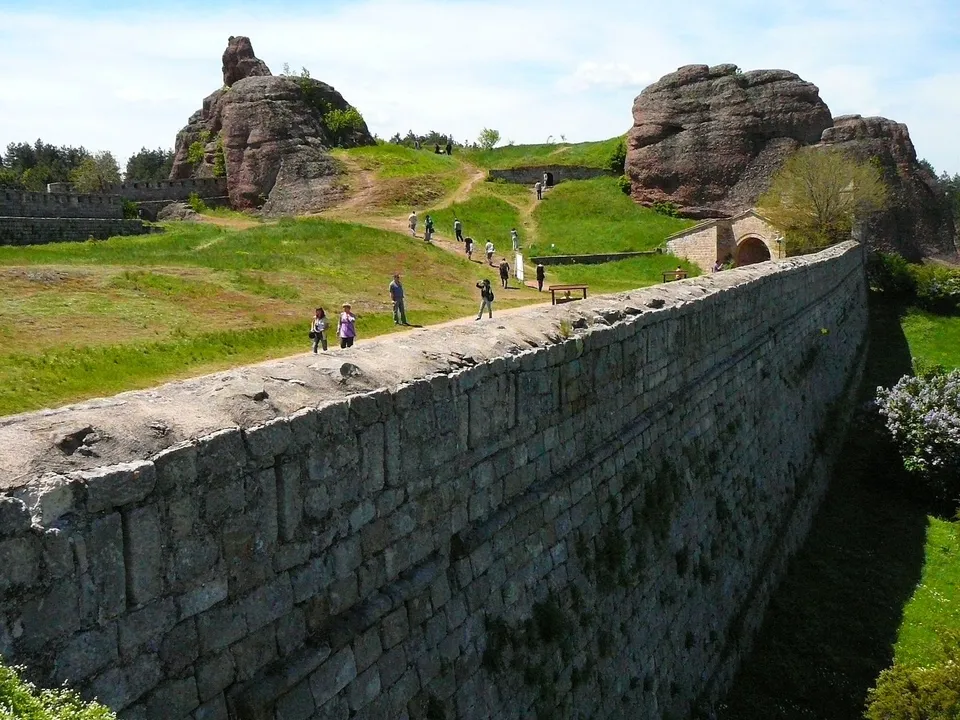
Gaps break up the huge reddish rocks at Belogradchik. Builders close those gaps with walls. The rock itself becomes part of the barrier.
The local museum dates the first small fort to the first to third centuries CE. This was during the Roman Empire. It stands between two passes through the Balkan Mountains. A pass lets people cross a mountain range. The fort provided a lookout over the surrounding ground.
Archaeologists found foundations, pottery, iron weapon points and Roman coins. These are traces of early use.
Sources · 2
- Исторически музей – Белоградчик Белоградчишка крепост
- Elena Chochkova File:Belogradchik Fortress E3.jpg
Part 2 · Revival
Sratsimir adds walls
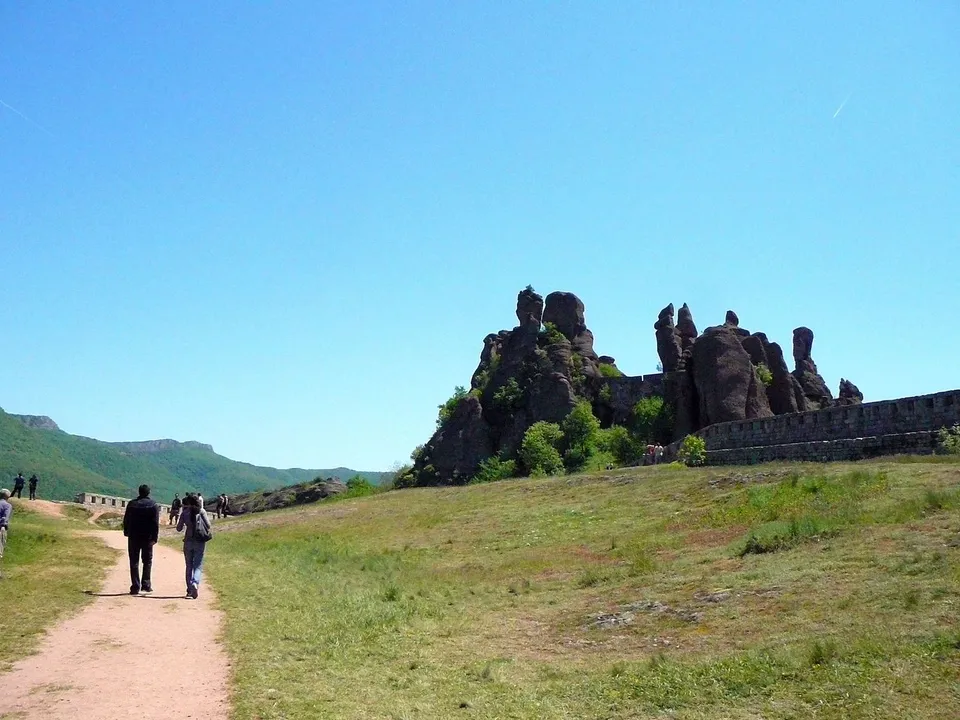
In the fourteenth century, Ivan Sratsimir rules from Vidin. He enlarges and strengthens the old fortress. According to the museum, two barrier walls were built under him. Wooden bridges and stone stairs helped defenders move around.
Soldiers stationed to guard a fortress are called a garrison. The fort changes hands. At the end of the fourteenth century, the Ottomans capture it. They too station guards there.
Sources · 2
- Исторически музей – Белоградчик Белоградчишка крепост
- Elena Chochkova File:Belogradchik Fortress E1.jpg
Part 3 · Revival
A gateway for new weapons
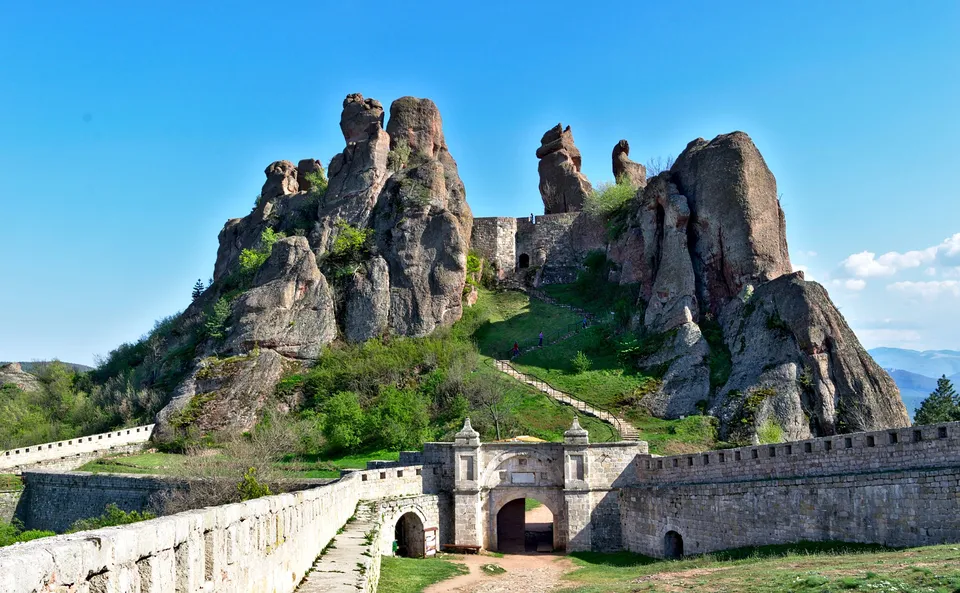
From 1805 to 1837, the Ottoman fortress undergoes major rebuilding. According to the museum, French engineers work at the start. Italian fortress builders join at the end. Three courtyards take shape, with gateways: large entrances. Iron bands reinforce the doors.
There are positions for cannon and openings through which they fire. Food and ammunition, meaning supplies for shooting, are stored underground.
The photograph shows a stone gateway beneath high rocks.
- 1 · Built gateway
- The gateway is built from worked stone. This does not establish that the visible arch is Roman.
- 2 · Natural barrier
- The high rock mass forms part of the barrier. Builders used the terrain.
- 3 · Rock and masonry
- The masonry continues the barrier. The fortress was rebuilt in 1805–1837 and later restored.
Sources · 4
- Исторически музей – Белоградчик Белоградчишка крепост
- Исторически музей – Белоградчик История на музея
- Yanko Malinov File:Belogradchik Fortress Entrance.jpg
- Vassia Atanassova - Spiritia File:Belogradchik-fortress-keystone.jpg
Part 4 · Revival
Activity: what does the masonry tell us?
How do the builders use the rocks?
Why is that?
Natural rock masses and built sections together form a barrier.
Correct · They close gaps with masonry.
- Исторически музей – Белоградчик Белоградчишка крепост
- Yanko Malinov File:Belogradchik Fortress Entrance.jpg
Sources · 2
- Исторически музей – Белоградчик Белоградчишка крепост
- Yanko Malinov File:Belogradchik Fortress Entrance.jpg


Part 5 · Revival
The land beyond the walls
In 1850, the Belogradchik Uprising breaks out in the Ottoman Empire’s northwestern Bulgarian lands. The map connects Belogradchik with Vidin. Villages in the Lom district also join.
What do the peasants want? The land dispute is probably one cause. Gospodarlık is a system giving landlords income and labour from peasants. Christian farmers face barriers to owning the land they work. A labour obligation means compulsory work for the landlord.
- Belogradchik Fortress · Approximate location
- Vidin · Approximate location
Part 6 · Revival
Peasants surround the town
Thousands of peasants surround Belogradchik.
Local landlords organize irregular troops. These are armed men outside the regular army. They attack the rebels. Violence also reaches Christian townspeople of Belogradchik who did not take part in the revolt.
Orders from the capital call for avoiding excessive force. For the peasants, however, the result is a suppressed revolt.
Sources · 3
- E. Attila Aytekin Peasant Protest in the Late Ottoman Empire: Moral Economy, Revolt, and the Tanzimat Reforms
- Исторически музей – Белоградчик Белоградчишка крепост
- Ymblanter File:Belogradchik Fortress and Rocks.jpg
Part 7 · Revival
Activity: put events in order
Put these in order, earliest first.
Why is that?
The Roman phase precedes Sratsimir in the fourteenth century. Rebuilding ends in 1837, before the uprising of 1850.
Correct order
- Roman fort
- Expansion under Sratsimir
- Major rebuilding
- Peasant uprising
- Исторически музей – Белоградчик Белоградчишка крепост
- E. Attila Aytekin Peasant Protest in the Late Ottoman Empire: Moral Economy, Revolt, and the Tanzimat Reforms
Sources · 2
- Исторически музей – Белоградчик Белоградчишка крепост
- E. Attila Aytekin Peasant Protest in the Late Ottoman Empire: Moral Economy, Revolt, and the Tanzimat Reforms
Part 8 · Revival
Peasants ask for land
Suppression does not settle the land dispute. Peasant representatives reach Istanbul, the capital of the Ottoman Empire. After the violence, the governor of Vidin is removed. Proposals for change follow, but the dispute continues. A strong wall cannot decide who will own a field.
Sources · 5
- E. Attila Aytekin Peasant Protest in the Late Ottoman Empire: Moral Economy, Revolt, and the Tanzimat Reforms
- Исторически музей – Белоградчик История на музея
- Felix Philipp Kanitz Belogradchik Fortress
- Krzysztof Ziarnek, Kenraiz File:Belogradchik Fortress kz09.jpg
- Elena Chochkova File:Belogradchik Fortress E2.jpg
Part 9 · Revival
Activity: match the terms
Match each term with its explanation.
Why is that?
A garrison guards a fort. A labour obligation is compulsory work. Irregular troops are armed groups outside the regular army.
- Исторически музей – Белоградчик Белоградчишка крепост
- E. Attila Aytekin Peasant Protest in the Late Ottoman Empire: Moral Economy, Revolt, and the Tanzimat Reforms
Sources · 2
- Исторически музей – Белоградчик Белоградчишка крепост
- E. Attila Aytekin Peasant Protest in the Late Ottoman Empire: Moral Economy, Revolt, and the Tanzimat Reforms
A new find for your collection
The land dispute continues after the revolt is suppressed.
People in this story
Sources
- E. Attila Aytekin Peasant Protest in the Late Ottoman Empire: Moral Economy, Revolt, and the Tanzimat Reforms
- Исторически музей – Белоградчик Белоградчишка крепост
- Исторически музей – Белоградчик История на музея
- Elena Chochkova File:Belogradchik Fortress E1.jpg
- Elena Chochkova File:Belogradchik Fortress E3.jpg
- Felix Philipp Kanitz Belogradchik Fortress
- Vassia Atanassova - Spiritia File:Belogradchik-fortress-keystone.jpg
- Ymblanter File:Belogradchik Fortress and Rocks.jpg
- Yanko Malinov File:Belogradchik Fortress Entrance.jpg
- Krzysztof Ziarnek, Kenraiz File:Belogradchik Fortress kz09.jpg
- Elena Chochkova File:Belogradchik Fortress E2.jpg
- Suzan Rufat БЕЛОГРАДЧИШКОТО ВЪСТАНИЕ ОТ 1850 Г. И ПРИЧИНИТЕ ЗА ИЗБУХВАНЕТО МУ ПРЕЗ ПРИЗМАТА НА ОБИЧАЙНОТО НИ ПРАВО
Images
Vassia Atanassova - Spiritia · CC BY-SA 3.0 · Wikimedia Commons
Full attribution
Image: Vassia Atanassova - Spiritia, Wikimedia Commons, CC BY-SA 3.0. Carved keystone: the stone in the middle that closes the arch. Modern photograph; the stone’s date and the meaning of its decoration are not established. Cut-out detail; background removed.
Elena Chochkova · CC BY-SA 3.0 · Wikimedia Commons
Full attribution
Image: Elena Chochkova, Wikimedia Commons, CC BY-SA 3.0. Walls close gaps between the rocks. Modern photograph after rebuilding and restoration. Processed image.
Elena Chochkova · CC BY-SA 3.0 · Wikimedia Commons
Full attribution
Image: Elena Chochkova, Wikimedia Commons, CC BY-SA 3.0. Courtyard and rock barrier. Modern photograph, not a Roman-period view. Processed image.
Yanko Malinov · CC BY-SA 4.0 · Wikimedia Commons
Full attribution
Image: Yanko Malinov, Wikimedia Commons, CC BY-SA 4.0. Gateway, masonry and rocks. Modern photograph of a rebuilt and restored fortress. Processed image.
Vassia Atanassova - Spiritia · CC BY-SA 3.0 · Wikimedia Commons
Full attribution
Image: Vassia Atanassova - Spiritia, Wikimedia Commons, CC BY-SA 3.0. Carved keystone: the stone in the middle that closes the arch. Modern photograph; the stone’s date and the meaning of its decoration are not established. Processed image.
Ymblanter · CC BY-SA 4.0 · Wikimedia Commons
Full attribution
Image: Ymblanter, Wikimedia Commons, CC BY-SA 4.0. Outer courtyard and wall. Modern photograph of surviving and restored construction. Processed image.
Elena Chochkova · CC BY-SA 3.0 · Wikimedia Commons
Full attribution
Image: Elena Chochkova, Wikimedia Commons, CC BY-SA 3.0. Masonry wall in front of the rocks. Modern photograph; it does not date individual blocks. Processed image.
Krzysztof Ziarnek, Kenraiz · CC BY-SA 4.0 · Wikimedia Commons
Full attribution
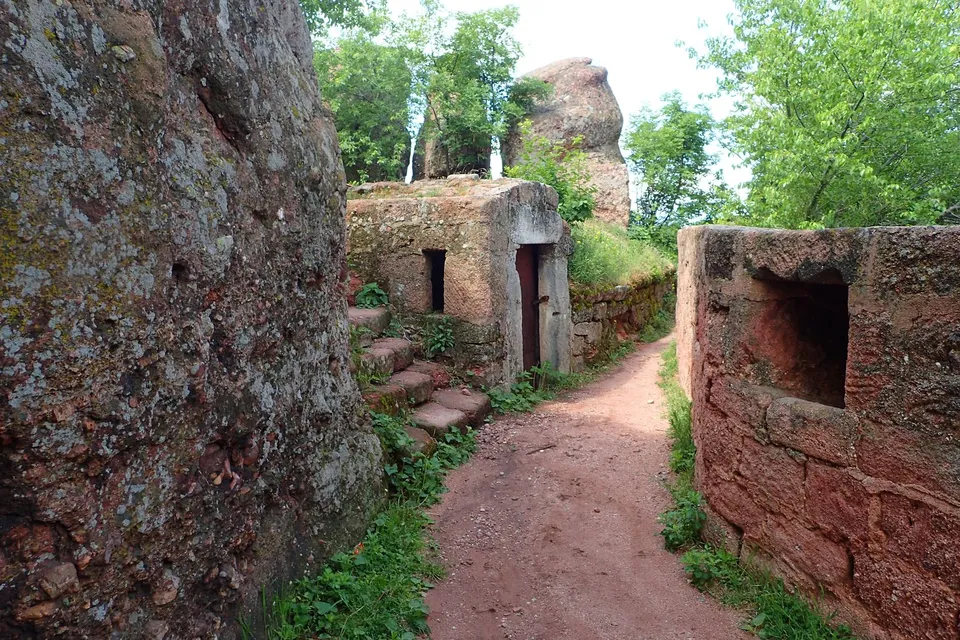
Image: Krzysztof Ziarnek, Kenraiz, Wikimedia Commons, CC BY-SA 4.0. Openings and small spaces beside the rocks. Modern photograph; their purpose and age are not established. Processed image.
Geographic context, without historical borders
Tom Patterson · Nathaniel Vaughn Kelso · Public domain · Natural Earth
Full attribution
Tom Patterson · Nathaniel Vaughn Kelso